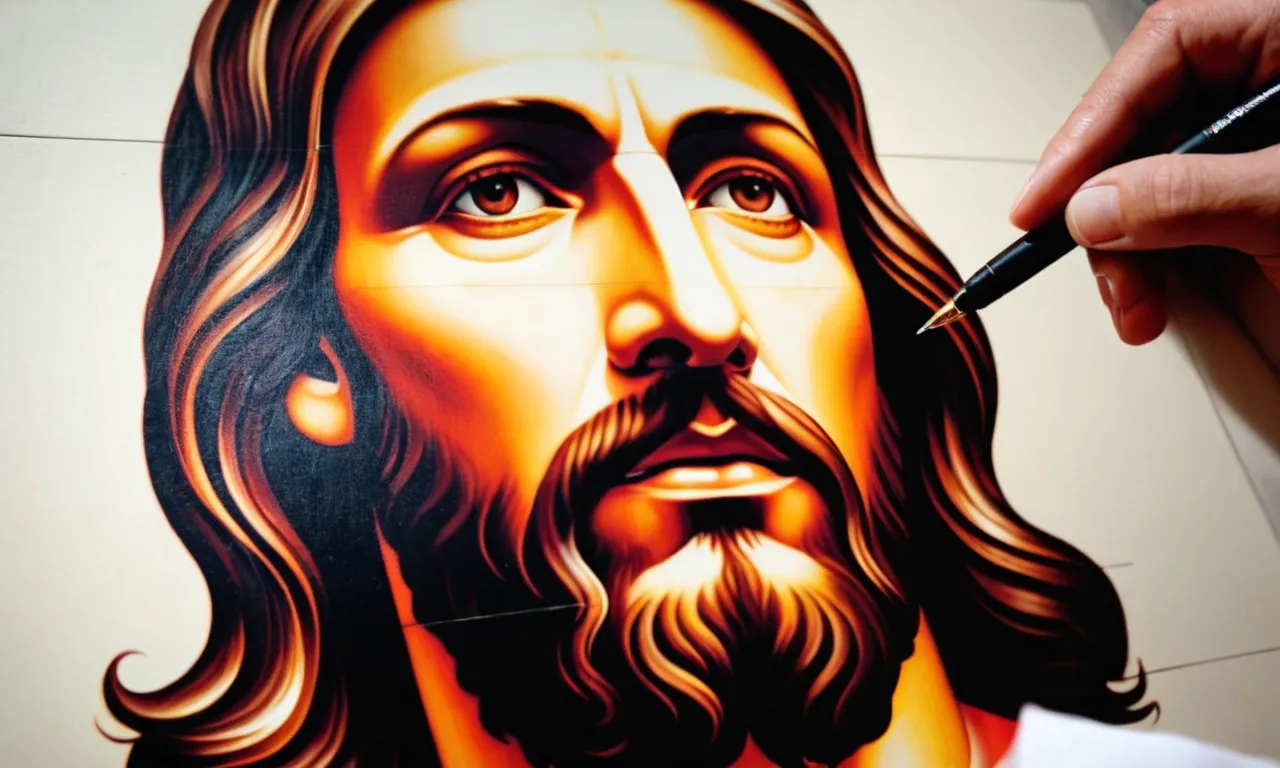
How To Draw Jesus Step-By-Step
Drawing Jesus may seem intimidating, but with the right guidance anyone can learn to sketch Christ’s face and form. In this detailed guide, we’ll provide easy step-by-step instructions for crafting an iconic image of Jesus.
If you’re short on time, here’s a quick answer: Start by sketching an oval for the face shape. Add guidelines for the facial features like eyes, nose and mouth. Build up values and blend tones for a realistic effect. Add hair, beard and other defining details like the crown of thorns.
Gather References and Sketch the Face Shape
Study Images of Jesus for Inspiration
When beginning a drawing of Jesus, it’s important to study various artistic renditions to get inspiration for your own work. Look at classical and modern paintings, sketches, sculptures, and other media depicting Jesus.
Pay attention to the facial features, hair, and expressions artists have used to portray him. Consider what emotions and messages the different depictions are trying to convey. Look at how some aim for realism while others use symbolism or abstraction.
Let the works that speak to you most guide your own artistic interpretation.
Start with an Oval Base
Once you have found reference images that inspire you, lightly sketch an oval shape for the base of Jesus’ face on your paper. The oval should be vertically elongated, with the top somewhat rounded and the chin coming to more of a point.
Position it with the oval’s center line slightly to the right of the vertical center of your page. This creates a pleasing angled view of the face. Make sure to leave room at the top for hair. Use an HB pencil so you can erase lines as needed while refining the sketch.
Add Face Guidelines
After the oval, sketch in lines for the major facial features. Draw a vertical line down the center of the oval for the nose and symmetry. Then draw horizontal lines marking the eyebrows, eyes, nose bottom, and chin. These guide lines ensure proper proportion and placement of features.
They can be erased later. The eyes should be about halfway down the oval, with equal space between the eye line and the chin as between the eyes and the brow. The nose bottom sits halfway between eye line and chin. Place one eye, likely the right, directly on the center line.
The other should be just off center. Lightly draw circles for the eye shapes. Add triangles at the nose base and a small rectangle for the mouth opening.
Build Up Facial Features and Details
Sketch the Eyes
The eyes are central to capturing the essence of Jesus. Start by lightly sketching almond-shaped outlines for the eyes. Make sure they are symmetrical and properly proportioned to the head. The eyes should be about one eye width apart.
As you develop the eyes, draw the pupils off-center to create a more dynamic look. Add a highlight to each pupil to bring life into the eyes.
Define the Nose and Mouth
The nose should be long and narrow, with a slightly curved bridge flowing into a proportionate nose tip. Avoid making the nose too small or pert. Lightly sketch the nostrils. For the mouth, draw a solemn, closed-lip line in proportion to the rest of the facial features.
Make sure the mouth aligns with the nose and eyes. Add a slight crease on the upper lip to show form.
Refine with Shading
Shading brings out the contours of the face and creates realism. Use an HB pencil to start shading the eyes. Darken the pupils and add light shadows around the eye sockets. For the nose, apply light pressure to shade down the bridge and onto the nostrils.
Shade lightly under the mouth to define the chin. Finally, add some light hatching strokes to the beard to give it texture and depth. Work slowly when shading and blend with a cotton swab for smooth transitions.
Here are some tips to refine the drawing further:
- Study reference photos of Jesus for detail accuracy.
- Draw individual beard hairs to add realism.
- Use bold, long strokes when shading the hair and beard.
- Add expression lines around the eyes and mouth.
- Incorporate a faint halo around the head.
With careful attention to proportions and shading techniques, you can create a lifelike portrayal of Jesus. Focus on the fine details like the eyes, beard, and hair to bring out his divine essence.
Add Defining Details Like Hair and Beard
Draw Wavy Shoulder-Length Hair
When drawing Jesus, one of the most iconic details is his wavy, shoulder-length hair. This flowing hairstyle helps convey a sense of movement and divinity. Here are some tips for tackling Jesus’ recognizable locks:
- Start by sketching the overall shape of the hair. Use flowing, S-shaped lines to indicate waves and movement.
- Add layers, drawing strands of hair in sections. Vary the lengths – some strands can graze his shoulders, while others fall slightly shorter.
- Consider volume and body when shading the hair. Darker values can be used in the interior areas while light glazing on the ends will show shine and bounce.
- Pay attention to the direction of the hair flow. The waves should move dynamically, with some pieces blowing across Jesus’ face for drama.
Taking the time to render Jesus’ windswept, wavy hair will go a long way towards making him instantly recognizable. Let the hair flow loosely to embody a natural, divine elegance.
Sketch an Iconic Beard
In addition to the hair, Jesus’ beard is also an iconic element of his likeness. Here are some tips for drawing a quintessentially Jesus-like beard:
- Keep the beard full but neat. It should have volume, covering his cheeks and chin, but avoid an unkempt look.
- Allow the beard to follow the contours of the face. It should taper gracefully along the jawline.
- Draw individual strands of hair making up the beard using fluid, calligraphic strokes.
- To show depth, make the hair darker around the mouth and chin area. Lightly shade the sides and tapered edges.
- Consider adding a mustache, also with flowing strands. This adds detail and completes the facial hair.
Jesus’ iconic beard should make him instantly recognizable. Aim for a style that is full but well-groomed to capture his divine essence.
Consider Adding Recognizable Symbols
In addition to his physical features, incorporating iconic symbols associated with Jesus can further cement his identity for the viewer. Some recognizable symbols to consider including:
- Halo: Draw a glowing halo behind Jesus’ head, symbolizing his holy status.
- Crucifix: Add a cross and crown of thorns as references to Jesus’ crucifixion.
- Sacred Heart: Draw a glowing heart surrounded by thorns to symbolize Jesus’ love and sacrifice.
- Lamb: Include a lamb near Jesus, representing him as the “Lamb of God” in Christian tradition.
- Ichthys: Sketch the Ichthys fish symbol near Jesus as an early Christian symbol connected with him.
Incorporating even small versions of these iconic symbols near Christ in your drawing provides powerful visual clues to help identify him. Aim to include at least one or two symbols, integrated naturally into the composition.
Blend Tones and Finalize Your Sketch
Smooth Out Facial Features
When drawing a portrait, it’s important to blend and soften the lines to create realistic and natural facial features. Go over the main lines with a soft pencil or blending stump to create subtle gradients.
Pay special attention to the eyes, nose, mouth, and hair to make them appear more three-dimensional. For example, gently blend the eyelid creases, nostrils, and corners of the lips to give them more depth and realism.
Erase any harsh edges or dark spots that stand out too much—the face should look smooth and cohesive.
Create Realistic Skin Tones
The next step is laying down the skin tones and shading to make the portrait pop off the page. Study skin color as it shifts across the planes of the face in your reference photo. Add highlights and shadows with colored pencils, starting light and slowly building up the tones.
The center of the face near the eyes, nose, and mouth will be lighter, with the shadows around the sides of the head, under the chin, and along the neck. The cheeks, nose, ears, and lips tend to be more red or pink. Pay attention to how the light source affects the skin color and shading.
Finally, use a tortillon or tissue to softly blend the skin tones so they transition smoothly across the face.
Erase Construction Lines and Finalize
Once the portrait has realistic skin tones and shading, carefully erase any sketch lines that are visible. Try not to smear the drawing. Then, look over your Jesus portrait and refine any small details to finish it off.
For example, you may want to darken some lines, lighten areas that are too dark, or sharpen edges that have gotten soft. Finally, consider going over your pencil drawing with pen or marker to make the lines crisp and bold.
When you have finalized all the facial features and are happy with the tone and proportions, you have completed your drawing of Jesus!
Conclusion
With some basic sketching techniques and an understanding of Christ’s classic facial features, anyone can learn to draw Jesus. Break the process down step-by-step, using reference images for guidance. Sketch the basic face shape and guidelines first, then slowly build up realistic details.
Pay special attention to value changes to craft an iconic image full of symbolism and meaning.